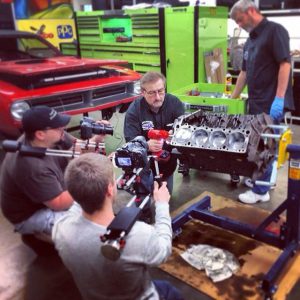
D.L. Watson Interview
Give us a bit of detail about yourself – background, profession, how you got into filmmaking, and your current role.

I started as a passionate writer and photographer and discovered my love for visual storytelling when I picked up an old family VHS recorder. Before the world was graced with YouTube, I made horrible short films and sketches with friends, all the while learning how to edit by ingesting and restructuring seasons of my favorite TV-Shows into two-three-hour film epics. That reverse engineering process taught me a lot about pacing, editing software, codecs, frame-rates, sound mixing, and much more.
I’ve since become a self-taught jack of trades filmmaker who got his first big break when hired as Head of Production for a local Discovery Channel acquisition filming right in my hometown of Springfield, Oregon. After my first successful season, I was promoted to Executive Producer and Director and oversaw production and post-production of over 180 episodes throughout eleven seasons.
But after eight years of dedicating my life to the project, creative differences, and the birth of my son culminated in me leaving and pursuing my freelance career.
Tell us about your project – how did it come about?
I’ve been incredibly fortunate to have made great connections over the years and have provided creative services for a growing list of clients. Lately, I’ve helped agencies and other freelancers get caught up on projects needing a polished and finished edit promptly.
One of my clients runs his local video production company called Spring Fed Media (www.springfedmedia.net), and recently he upgraded his A-Camera to an A7s3 and used his A7s2 as his B-Cam. Each camera’s image is very different from the other especially if exposure and white balance are set in-correctly.


One of our latest projects together is still a work-in-progress, and I can’t speak much about it, but I will say that it was one of the best examples of how CineMatch saved me a ton of time in color-correction.
What was the particular look or style you were going for with your project?
I love creating a “look” for projects. It’s one of the reasons why I love CineMatch’s sibling FilmConvert. In fact, my first award-winning short film was re-graded with FilmConvert for its fifth anniversary.
(Watch the short on Amazon for free here.)
But unfortunately, this project’s color correction isn’t very exciting.. The instructions I received on this were to “make it as sterile and neutral as possible.” Not precisely riveting color-correction work.
With that said, I’ve used CineMatch for the last year, and it hasn’t let me down. One real-estate project was quite extensive, with two different cameras, a GoPro and a drone. With CineMatch, I quickly adjusted all the cameras, including the GoPro, which I find the most difficult to match against the Sony A7s line of cameras.
What influenced your camera selection for the project?
I didn’t shoot this project, but as an A7sII owner and fan of that line of mirrorless cameras – it all comes down to its hybrid form factor. When shooting for local business projects, you’re frequently switching from shooting video to shooting photos.
It’s incredibly convenient in this day of technology to do both from the same device without severe compromises to the video image quality. And with the A7sIII’s 10-bit 4:2:2 codec, HLG, and Slog flavors, it’s just a no-brainer for low-budget multimedia independents like ourselves.
While shooting “Graveyard Carz,” we shot on Canon Mark 2’s, 70D’s, 60D’s, and even T2i’s for the first five seasons. It’s pretty impressive how much the technology has grown in the last eight years.
How did CineMatch help with the camera matching and grading aspect of your project?
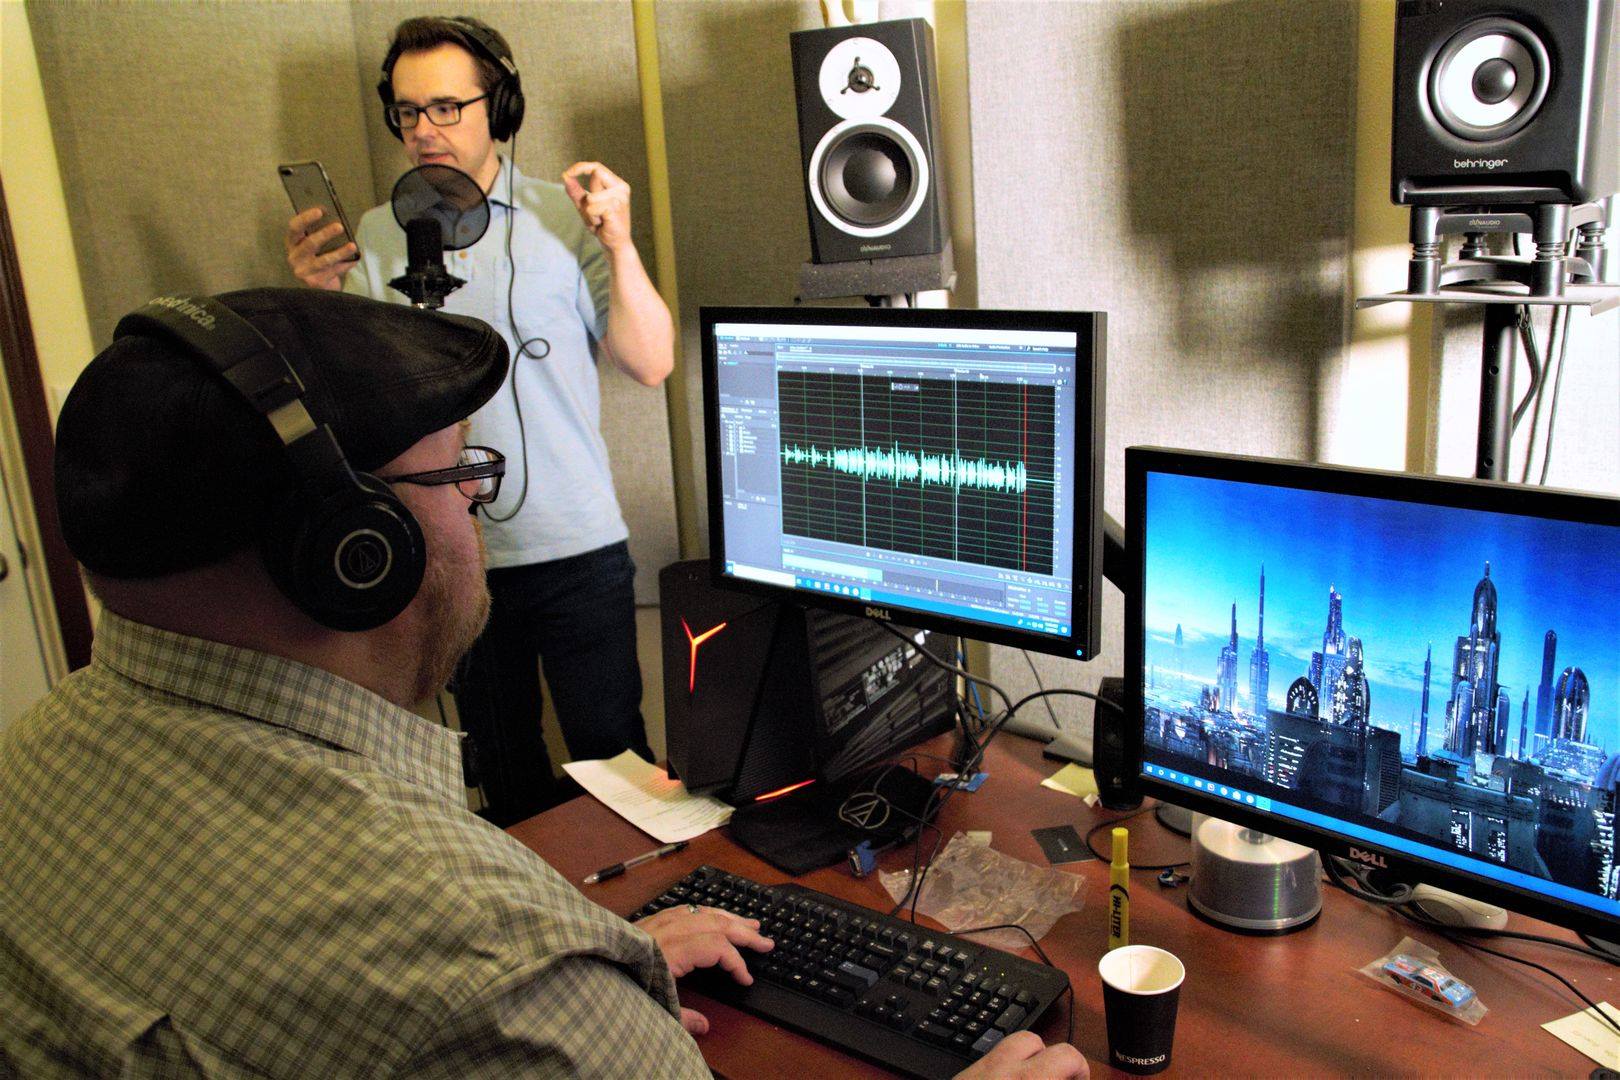
Thankfully CineMatch is compatible with Resolve as that’s my go-to for even small projects like this. To start, I set up my project as a YRGB and import my footage.
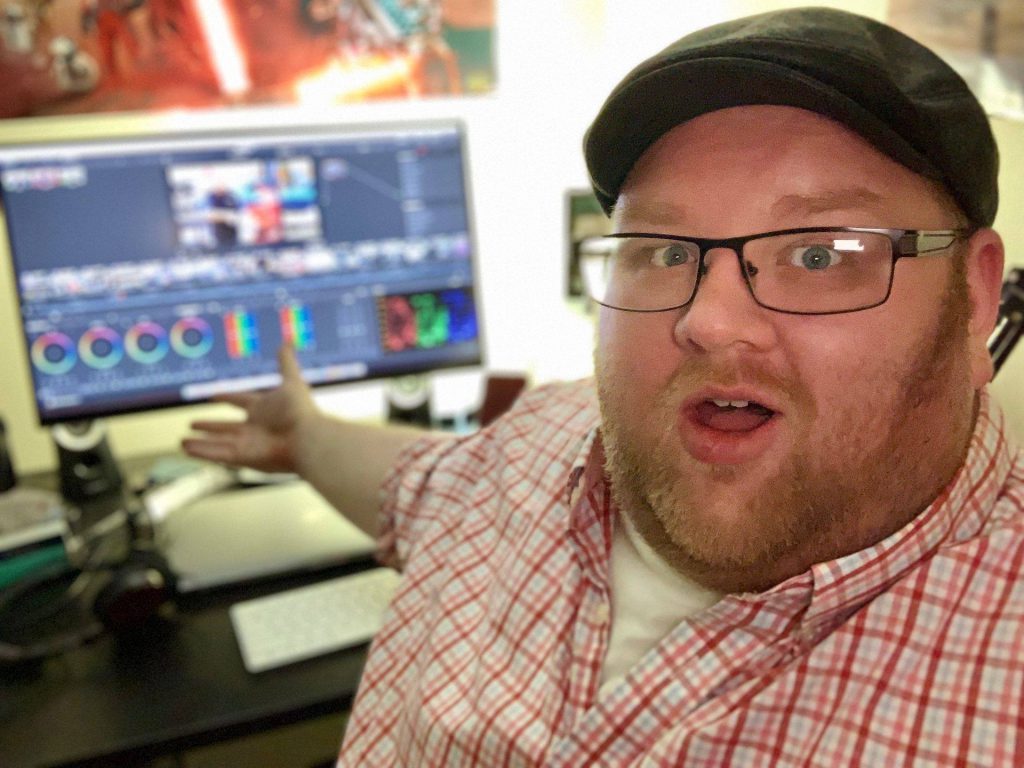
I decide which camera represents the majority of the project’s footage, and that’s the camera that I’ll match all the other footage to. In this project’s case, most of the camera’s footage came from the A7sII, and the B-Roll coverage was provided by the A7sIII.
My workflow is to color-correct the A7sII footage and then apply CineMatch to the remaining clips and adjust to emulate the A7sII’s sensor.
After that, I copy and paste my correction node from A7sII to the A7sIII.
One beneficial feature is the False Color, White Balance, and HSL adjustments built-in. Skin tones in the A7sII can be a bit off, and so when I color-corrected those, I built in a secondary correction node.
Since the A7sIII’s image differs, I needed to shift them to look like the A7sII if I were to be able to copy and paste my correction node from one to the other and have them match.
Using the HSL adjustment, I could quickly isolate the problematic hues and shift them to achieve this.
Why did you decide to use CineMatch for this particular project?
I’m not a colorist and would never claim to be. I know enough to be dangerous, which is essential because so much of my client’s work involves color correction.
As a filmmaker observing the trends over the years, I’m excited to embrace the HLG format to capture nature’s beauty on camera. White balance, exposure – those are all things I think should remain to be adjusted onset and leave the color-correction/grading to unify the film’s overall look instead of taking a log image and building it from scratch.
What’s great is no matter if it’s log or HLG, CineMatch is just another tool to make that happen. And for my projects, big and small, I’ll feel less concerned about mixing cameras when shooting out of fear there will be a massive difference in quality. With the recently added feature to export a LUT, I can provide my clients with backups of projects without them needing a license to re-render.
And that’s why I used it for this and will continue to use it for future client and personal projects.
Links:
Website: avideomaker.com
Facebook: facebook.com/avideomakr
Twitter: twitter.com/avideomakr
Instagram: instagram.com/avideomakr
