Director and cinematographer Sjur Pollen talks about the process of making the comeback music video for Norwegian electronic rock band Datarock.
Sjur Pollen – director and cinematographer

I’ve been interested in movies and film making since I first saw Tim Burton’s ‘Batman’ as a kid. Somehow, this movie felt different to me, and ever since I wanted to know why.
I live in Bergen, Norway. Being a small city, in a small country, there isn’t really an established film industry here, so partly out of necessity and partly due to a broad curiosity about all things visual I’ve been wearing a lot of different hats professionally. I do commercial and artistic work as a photographer, director, cinematographer, VFX artist, designer and also work in outside broadcasting as producer, technical operation manager and camera operator. My main interests are directing and cinematography.
I was approached by Datarock-frontman Fredrik Saroea about doing a campaign consisting of stills, motion clips, two shorts (the prequels) and a music video. He liked some of my previous work and thought I would be a good match for creating visuals for the release of their comeback album ‘Face the Brutality’.
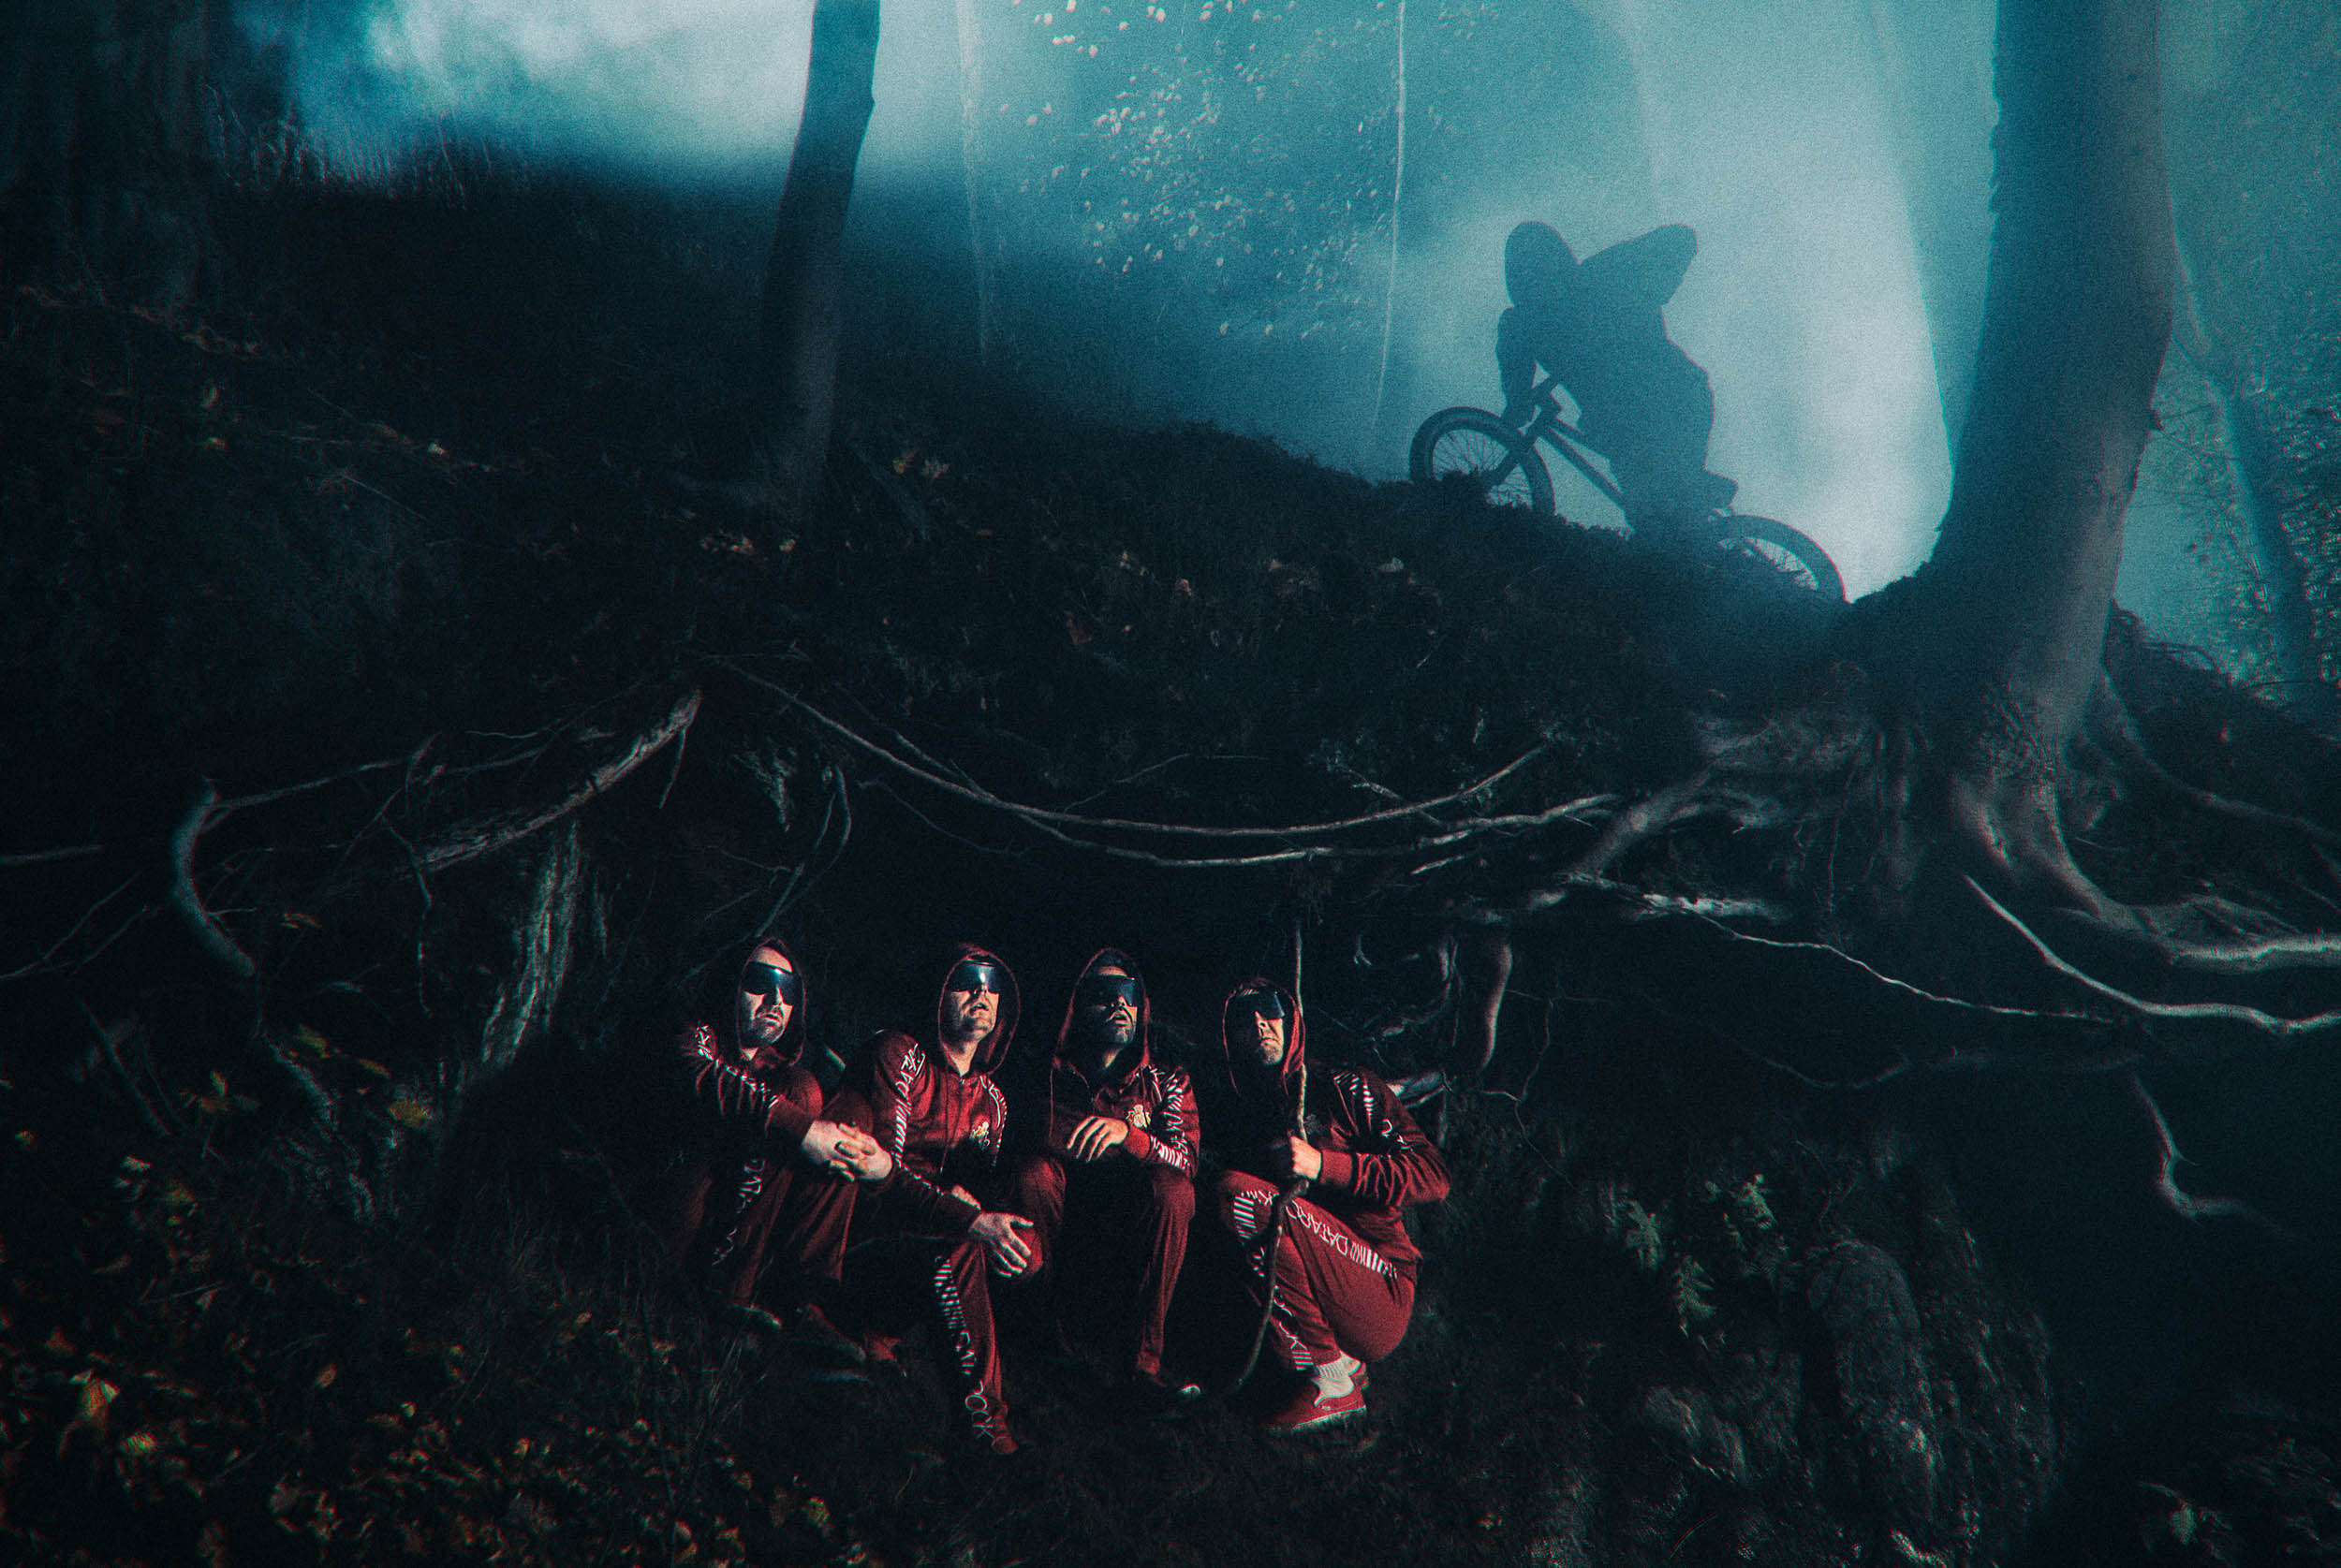
The band wanted to emphasize them going in a slightly more serious direction musically, so their trademark red tracksuits were to be replaced by black ones, and the general feel was to be quite dark. Fredrik also mentioned the Venom suit from Spider-Man, a reference that is quite apparent in the shorts and the video. Another premise for the music video was that artist Dolk’s work ‘Low Key’, (a ripped up Lamborghini Gallardo exhibited at Aros art museum in Aarhus, Denmark) was to somehow be included in the work. Founding member Ketil Mosnes aka Ket-Ill had just re-joined the band after a few years hiatus, and we figured it would be fun to make a point of this in the video.
Other than that, I was fairly free to do what I wanted, albeit on a very limited budget. Therefore I opted to do it all as a one-man crew, with small set-ups and sneakers on my feet, so that I could literally run through the shot-lists. For two of the locations I had the help of gaffer Poul Iversen, but other than that I was on my own. The band members, however, were very helpful and served as impromptu crew on set when needed. Also, they were very willing to go the extra mile artistically, as exhibited by drummer Øyvind Solheim, who had his hair bleached a rather unbecomingly yellow, to become a bond villain of sorts (that may or may not have been inspired by a certain follicly ‘experimental’ president).
We were also blessed with access to some really nice locations. Some of them, however, were a downright nightmare to shoot in, and we never had much time in each place, so the entire process was 100% guerrilla style film making. A process that contrasts a bit to the fairly slick look we went for in the final product.

I started using Filmconvert not long after he did, so it’s been a few years now. I’ve been shooting video since the analogue days (started on Hi8), and the goal was always to mimic the organic look and feel of celluloid film stocks. It wasn’t until I tried Filmconvert that I found a reliable tool that suited my workflow, and gave me the results that I desired.
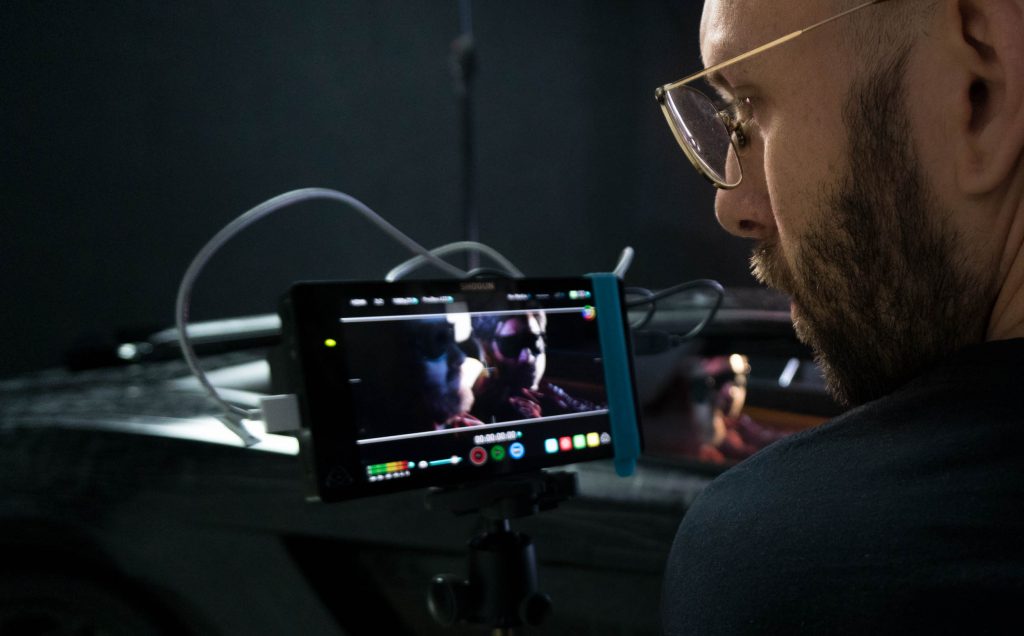
There was never any question FilmConvert would be a part of the workflow for this particular project. I was limited to working mostly with a Sony A7RII (SLog 2) with some shots done on the Sony FS7 (SLog 3). I can not think of an easier way to match colors than using FilmConvert, so that was a no brainer. Having all the different camera profiles, and sub-profiles for different camera settings is a huge time saver in post, but also very useful in production. The ability to export tailor-made LUTs for monitoring different cameras and their specific picture profiles is a huge benefit. I have yet to find simple LUT-packs that comes close to implementing this flexibility and precision. Also, I find FilmConvert is especially beneficial for Sony’s log formats, as the colors can be rather hard to wrangle manually.

The look I was going for was a mix of eighties blockbuster, mystery, and noir, but not overly retro. I was not really referencing anything specific but experimented to find a look that just felt right. In addition to film stock emulation through FilmConvert I also applied some degree of diffusion filtration to my lenses.

I use the FilmConvert OFX plugin with Davinci Resolve and treat a given film stock as a starting point (for this one, it was Kodak 5207). For S-Log I try to overexpose about a stop, so I set FilmConvert to compensate for this. I then add nodes for corrections and/or noise reduction etc before the one containing Filmconvert, and then some nodes after it to tweak the look. I also usually adjust exposure and some other settings in Filmconvert as needed.
The amount of flexibility this gives makes working with even heavily compressed log formats feel almost like raw, but without the hassle of bandwidth and storage challenges that come with a true raw workflow.
For the individual clip grades I left the grain entirely off, but later added a layer of FilmConvert grain on the entire timeline. I like adding some grain to soften the image a bit, especially for anything with a hint of retro.
Even more important perhaps, is that when shooting compressed and especially 8-bit formats, adding grain have an amazing dithering effect that masks codec shortcomings beautifully. Leaving the grain layer as a last stop on the entire timeline ensures that grain will stay consistent, and not be affected by individual clip scaling and contrast adjustments. I also made some tweaks to the timeline grade, as I often do, to accentuate the overall look. For this one I raised the black point a bit, to give a hint of a faded retro look.
As mentioned, I used pro mist filters on my lenses which really adds a lot to the look. Not only does it add some lovely glow to the highlights, but I find it massages the overall sharpness of digital UHD to a more creamy analogue-like image.

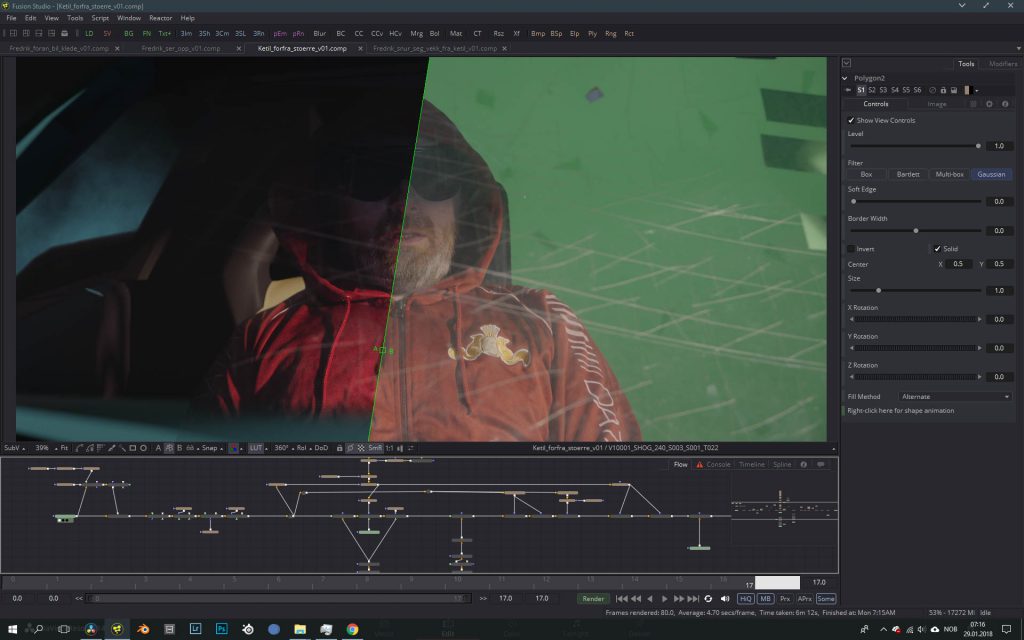
Also since this production was done on a very limited budget, very difficult locations, and a super tight schedule, the actual shoot was at times almost documentary-style run and gun, albeit with the occasional dry ice smoke machine and butterfly frame making cameos on set. I knew I had to do a lot of work in post, not only for the apparent effects but to retouch, fix problems and augment locations and atmosphere. Some shots I even had to recreate digitally in 3D, as we didn’t have time to shoot them on location.
The music video alone has more than 70 VFX shots, though only a handful of them are readily apparent. My VFX software of choice is Blackmagic Fusion. Having FilmConvert as an OFX plugin means I have a very precise and flexible way to stay consistent with my looks between Resolve and Fusion. Much more so than working with mere LUTs. Especially when working with computer-generated elements, FilmConvert is a superb tool to take the edge of the ‘too perfect’ result of CGI renders.
In addition to the beautiful looks that FilmConvert produces, it really is a fantastic tool to keep consistency between different cameras, software and monitoring solutions.
