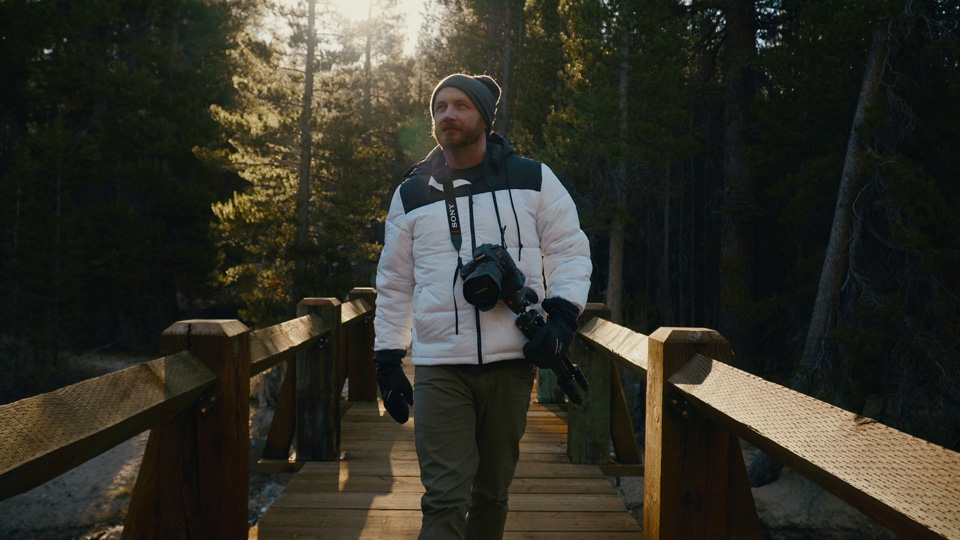
Adam’s Story
Jordan Vanderplate – director
I was born in Lancaster, Pennsylvania, and realized at a young age that I enjoyed capturing photos and soon developed into a love for video. That was before the digital and I started with 35mm on my dad’s old Pentax camera. A friend in my high school edited compilation videos with an analog capture card and Pinnacle Studio software and that changed my world discovering that you could convert video files into digital and create customized videos.
My first video camera was a Sony Hi-8 handycam and I soon began shooting school projects and personal video projects. At the same time I developed my skill as an electric guitar player and moved to Kansas City, Missouri and from there traveled professionally for over 15 years during which time I took my camera along for the ride.
Music paid the bills but video was always my passion. Eventually travel burned me out and I was eager to get back into the world of media full-time. I had been taking on freelance projects and weddings but I wanted to do more than corporate videos and soon was given an offer of employment to work for a record label in Kansas City as a full-time video editor which I gladly accepted. I recently moved to Reno, Nevada and the beautiful mountains of the Sierra Nevada where I work as the AVL director for a large church in addition to building my personal YouTube channel. I have no formal education in video production but my passion is to capture the outdoors and tell stories through the lens of nature, using natural light beautiful landscapes.
Tell us about your film, Adam’s Story
When approached about trying out FilmConvert and CineMatch and creating a piece about these two products, there wasn’t a second thought about accepting the challenge. I’ve used FilmConvert for several years and have been 100% happy with the plugin. When considering how to approach creating something, I didn’t want to simply turn on a camera and do a screen recording, I wanted to show the plugin on an actual film.
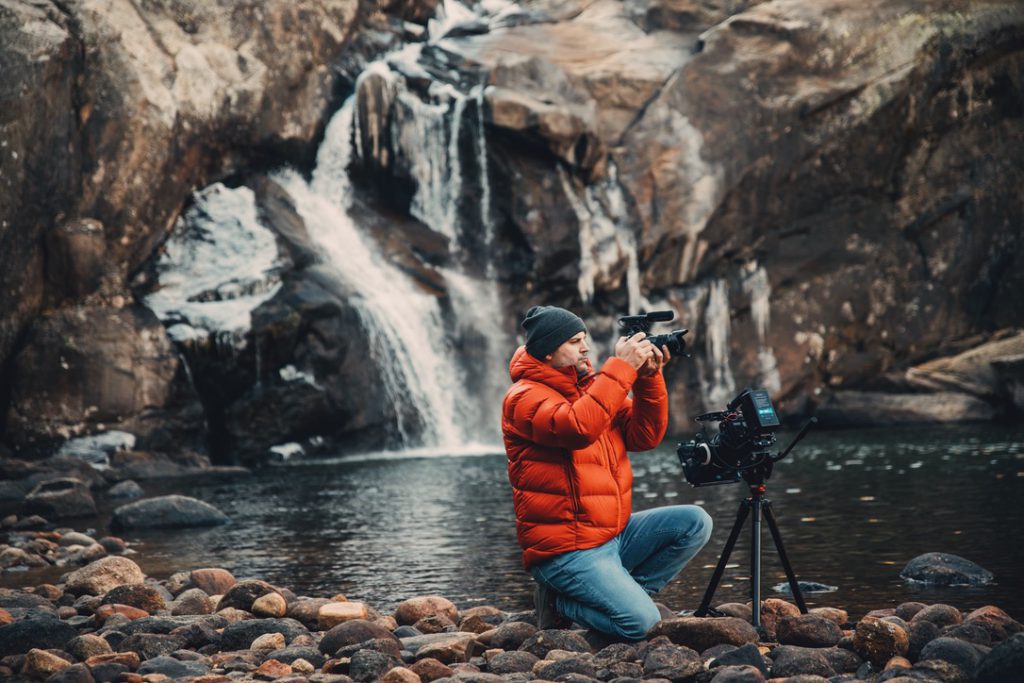
A relatively simple and efficient way to do this while working a full-time job as well as just living life with a toddler and pregnant wife was to find a story. My good friend Adam, also a photographer and videographer, was able to help me film and photograph content for the trip as well as tell his story about the difficulties in his life and it seemed like a great fit for this project, with the end goal of encouraging others to pursue their passion.
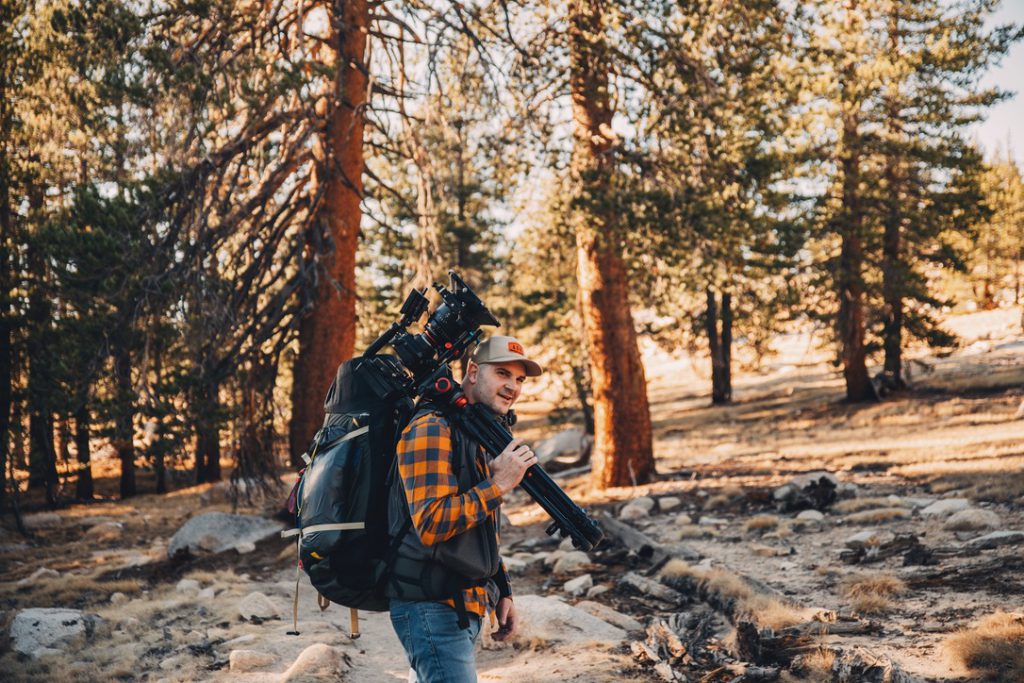
The project itself was a lot of work. We wanted to shoot with multiple cameras of course, to showcase the capabilities of CineMatch, which meant that we carried a good amount of gear in our backpacks. We carried about 60 pounds for a total of 13 miles into the high-altitude backcountry of Yosemite National Park in California, all while filming along the way with our Blackmagic Pocket 6k Cameras and Sony a7R III.
How did you find out about FilmConvert?
During my time at the record label, my boss continued to ask me if I’d applied FilmConvert to each layer. At first I didn’t even ask him about it, I just told him that I hadn’t used it. Eventually he showed me the plugin and I was instantly hooked. He had his personal Red Helium Weapon 8K and I got to shoot a good amount of content with his camera and put FilmConvert on the footage. I couldn’t believe how good it made the footage look.
RED footage is beautiful in itself of course, but when you add FilmConvert it genuinely looks like it was shot on actual film. That really excited me and inspired me to create more content.
Why did you decide to use FilmConvert on this project?
I personally have a Blackmagic Pocket Cinema Camera 6K which I really like for the price and quality, but there’s still a “sterile” digital look to the footage. I’ve historically applied FilmConvert to almost everything I produce because it makes it looks awesome. But when you get the opportunity to go somewhere you love, shoot footage you’re really excited to shoot, then color it with an amazing film-emulator that enhances it on another level, there really is nothing better.
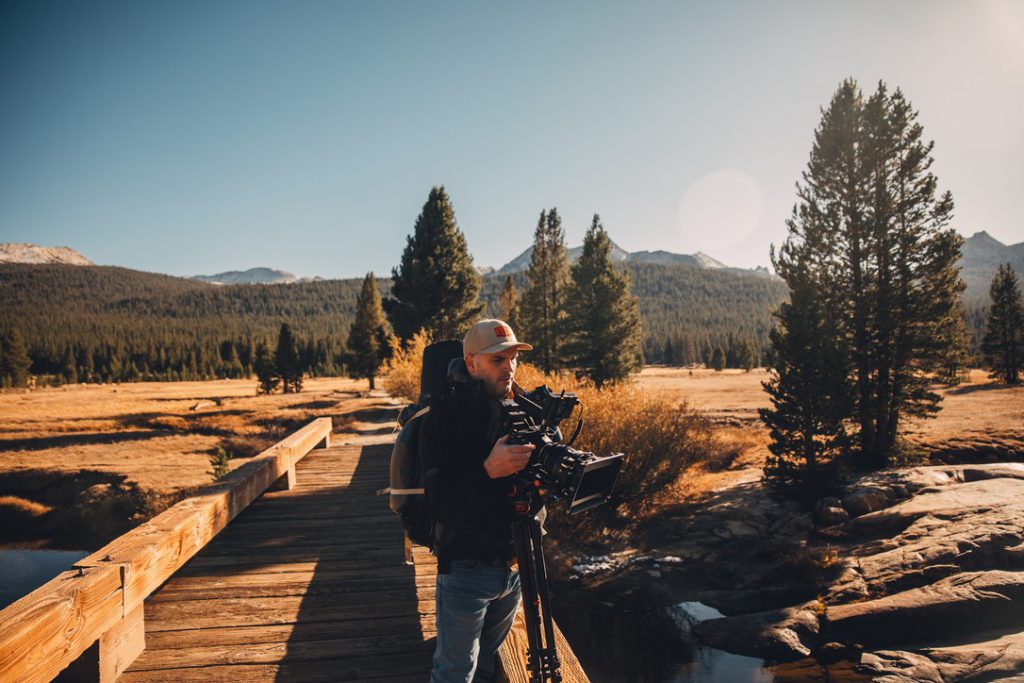
FilmConvert adds such a rich, beautiful tone and texture to your footage, I couldn’t actually have considered doing a project like this without it!
Tell us about the particular look and style of your film
I wanted to achieve a warm tone, something that conveyed the light at the end of the tunnel. Talking about the hardships of Adam’s life, I wanted to keep the focus on the “if you persevere, you win” element rather than the negative events that could have stopped him from doing what he loved. I also prefer a lot of wide angles that may almost be a distraction to the viewer, but I love to see the bigger picture.
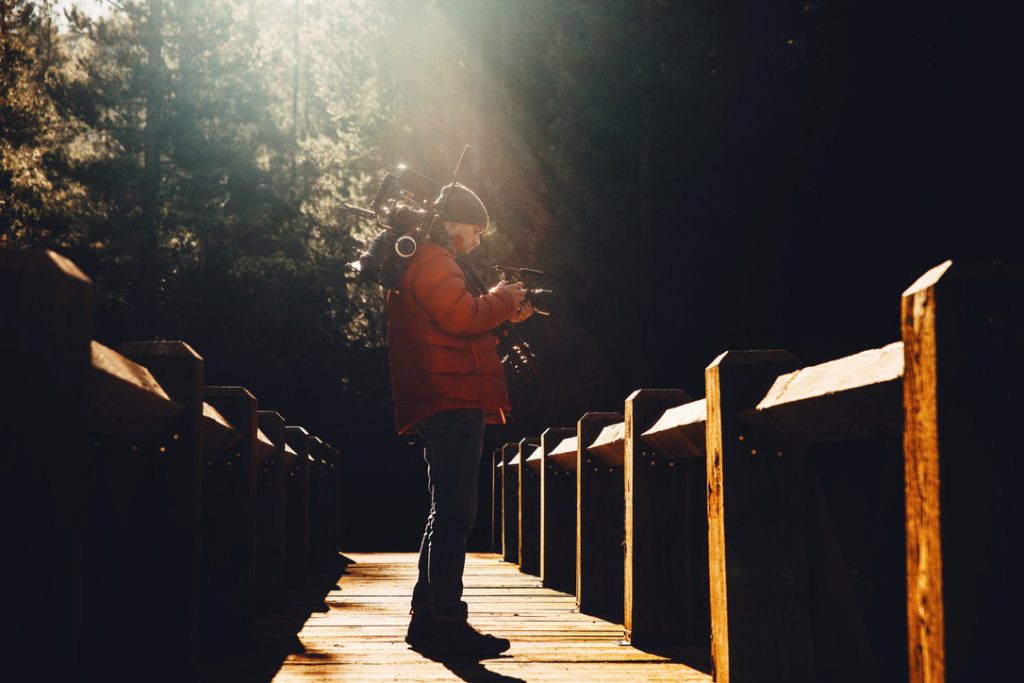
I could spend a long time looking at a really good landscape photo because there’s so much to see with the depth and the colors and contrast and lighting. I always loved the Where’s Waldo books, not even to find Waldo, but to see all of the small details in the rest of this massive scene. That’s what I like to do with my content and my shooting style. I want the viewer to get caught up in looking at the whole scene.
What was your editing and color workflow?
I work with Premiere Pro which has its pros and cons, but I do like the user interface in regards to editing RAW footage and plugins. Most times I use an adjustment layer where I apply FilmConvert and then just enable/disable that layer as needed, but that’s almost always one of the first things I do.
It’s always satisfying to load your clips, color correct then add FilmConvert and get to see what your final product is going to look like. I guess I like to actually do my color grading first and allow that to effect my edit.
With CineMatch I’m most often matching my Sony a7R III to my BMPCC 6K but occasionally I’ll use my Sony a6600, an iPhone 12 or a GoPro. My film stock of choice is the Kodak Portra 400 and I roll back the chroma to about 60% typically.
I don’t usually make any additional adjustments within FilmConvert with the exception of boosting saturation a bit as I do all my color correction within the RAW settings, and also I really like how the film stock looks right out of the box.
What other effects/settings did you use to achieve the look?
Often times I’ll use a LUT within Lumetri in line before the FilmConvert layer and I bring the blend of that LUT down to about 50% but apart from that, I’m mostly just a “what you see is what you get” kind of editor. Of course that means if it’s not shot well then the end product will not be so great haha.
Any final thoughts?
FilmConvert has really changed my entire process of creating content. From my first project using it I’ve shot my footage with the intent of bringing out the colors and textures that film captures. I want to continue to capture beautiful landscapes and to any other videographers/editors/content creators out there, I think you’ll find FilmConvert and CineMatch to be an invaluable tool in your arsenal and I would go so far as to say that you may find your projects incomplete without it!
Jordan Youtube: https://www.Youtube.com/jordanvanderplate
Instagram: https://www.Instagram.com/jordanv
Adam’s YouTube: https://www.youtube.com/user/ TrueColorVideo
Instagram: https://www. instagram.com/adamhanly
