Tony Osborne – User Showcase
Give us a bit of detail about yourself – background, profession, how you got into filmmaking and your current role

My name is Tony Francis Osborne and I joined the TV industry in 2011 working as a Runner. I always used to film my friends skateboarding and enjoyed editing them together. So I went to college to study media and film.
Once I got my diploma I joined as a runner and thought I wanted to become an editor. My first day, I walked into a Baselight colour grading suite and I knew I wanted to be working on colour.
Since then I made it my mission to learn Colour. I even worked at Filmlight so I could learn the Baselight grading system. For my own personal home setup I use DaVinci Resolve with a Tangent. At the moment I’m a Freelance Colourist. (check out more of Tony’s work here).
Tell us about your film – how did it come about?
I got to talking with the Director Simon Antonie and it came down to two colourists. Despite my competition having more experience, Simon took a chance on going with me. He mentioned he could hear I had more passion in my voice for the job.
Why did you decide to use FilmConvert for this particular project?
I knew that FilmConvert could work smart for me with camera tagging the footage and getting me to a good point.

What was the particular look or style you were going for with your film?
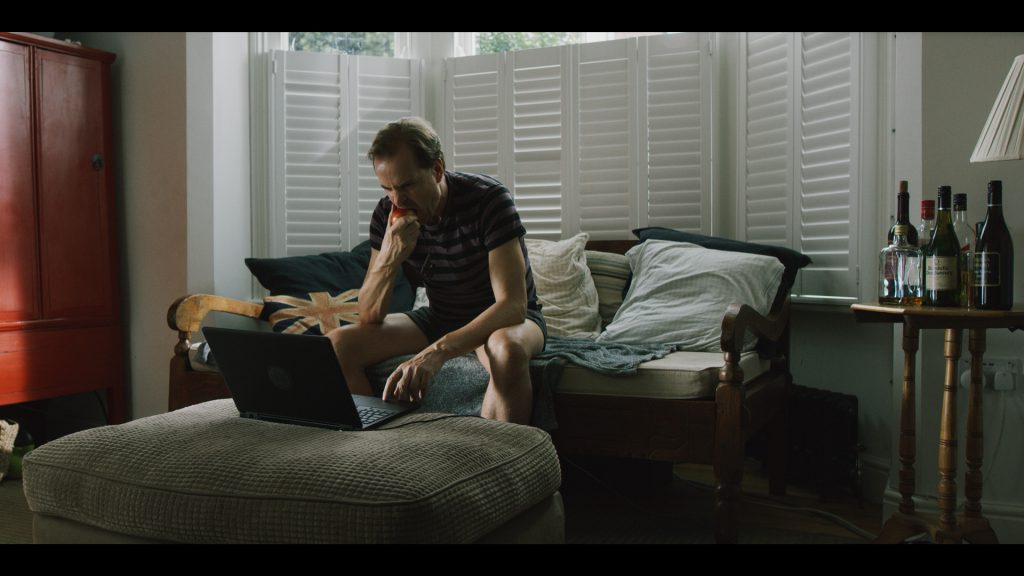
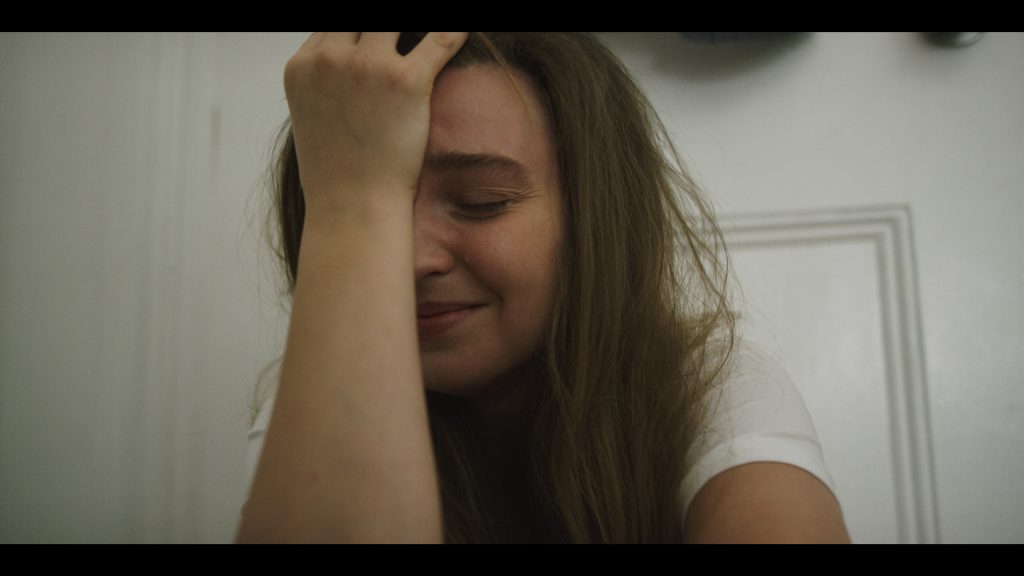
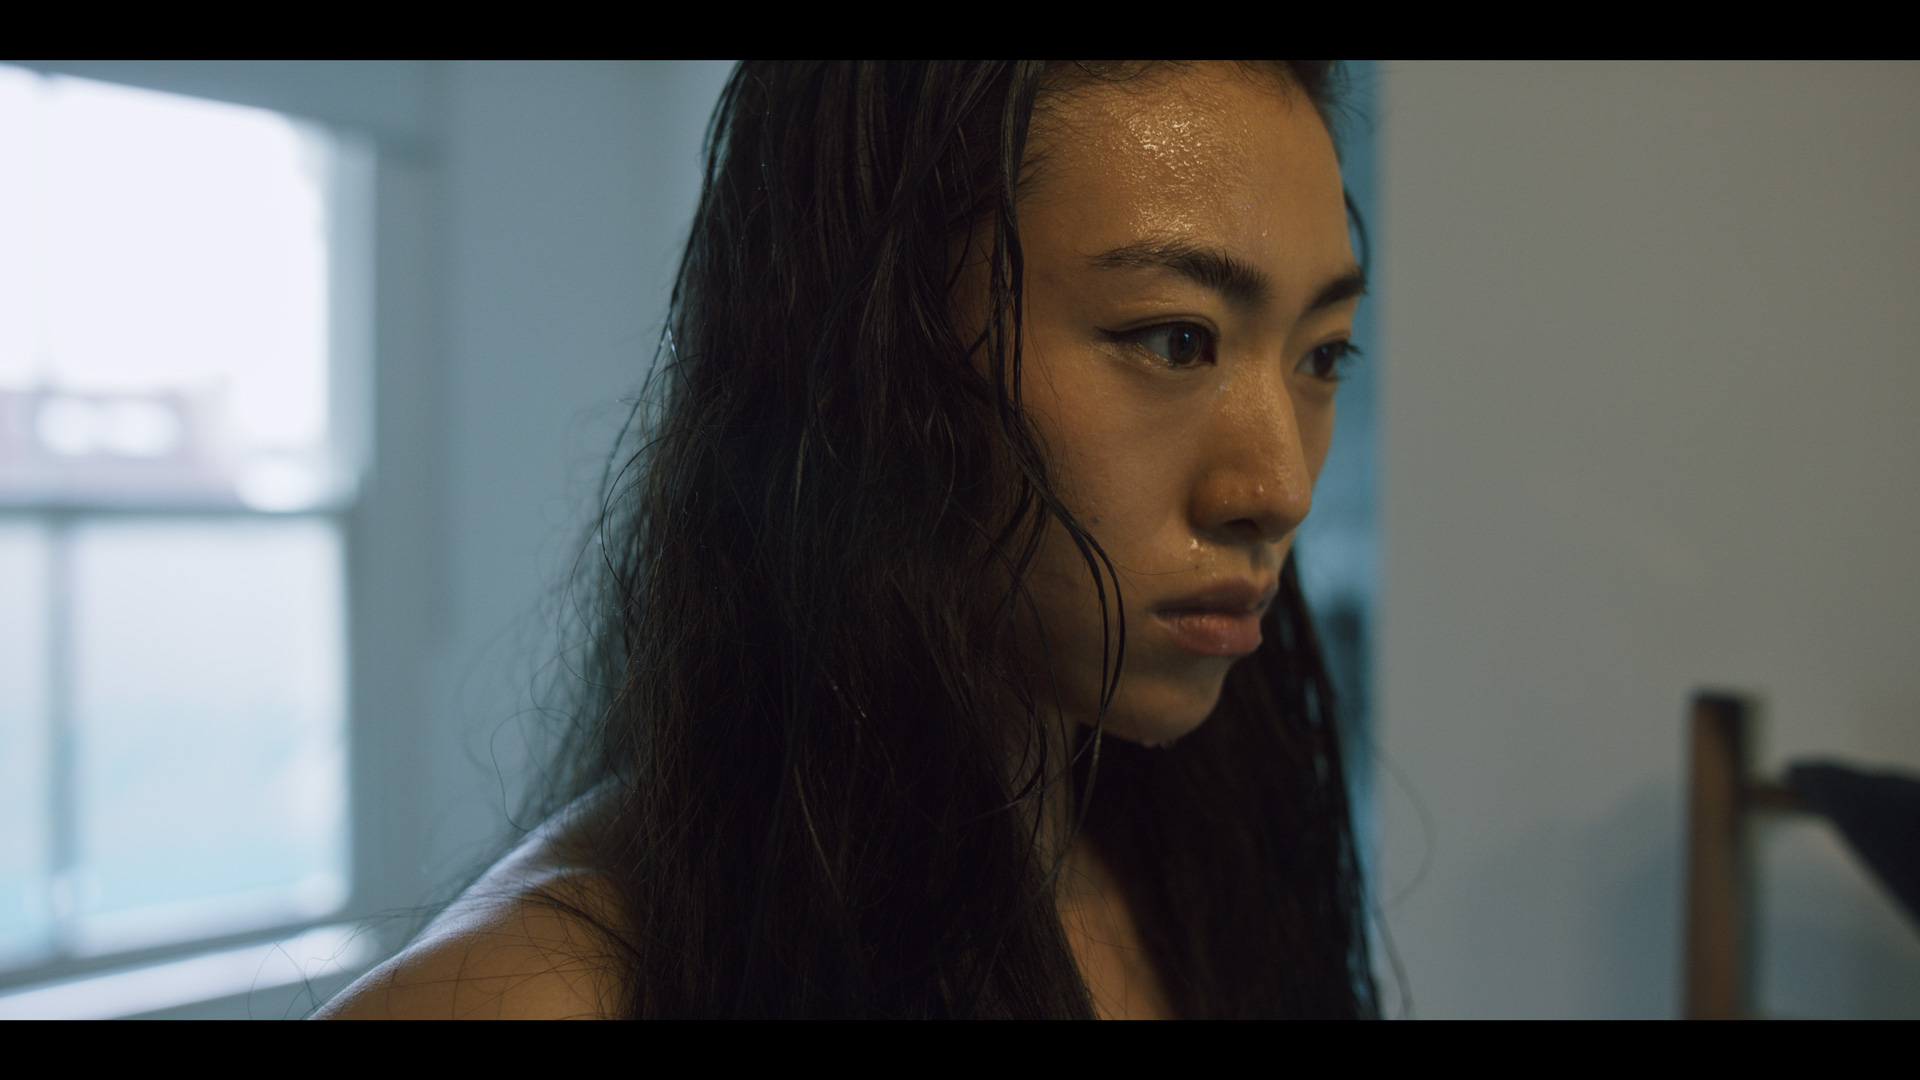
I knew from the start that Simon was enjoying the Parasite film look. So in my mind I jumped straight to thinking about Fuji stock. FilmConvert has Fuji Chrome Astia 100F and it gave me exactly what I wanted.

Tell us about your workflow. What settings, film stock, camera profiles and tweaks did you use in FilmConvert?
I love working in an ACES project, it just feel natural to me now, but it was a learning curve for sure. The DOP Jonathan Nicol shot on Red Dragon with the IPP2 profile. So bearing that in mind, I set my project up ACEScct and my input device transform accordingly. Once I had my fixed node structure applied I could get to work.
I used FilmConvert towards the end of my node tree so that I could Balance before and do any other secondaries. Some clips needed me to add a node after just to clean up inky blacks or slight magenta whites.
I downloaded the RED camera pack and used Model: Dragon, Profile: Dragon Colour – RedGamma3. This put me in a good place. I could have used the tools in FilmConvert to balance but for this job it was better to do this in resolve on a separate node.
Film stock: FJ Ast 100
I actually turned down my Film Chroma and Film Luma to around 20.0 as it was compressing my blacks too much, which for another project I will 100% use, but this time I needed a little more detail. I used the film grain 35mm but only on 10.0 which was a soft amount not going into skin tones so heavily. Also leaving some film grain saturation. Usually I use my custom library of grain on a timeline level over the entire project but I really like how FilmConvert has control over how and where the grain interacts with you picture using a curve.
