We get a lot of questions from users about what camera settings you should use to get the best look out of your footage.
To help you out, we’ve put together the following set of guidelines:
Check our list of camera profile packs
 FilmConvert is constantly working on new camera profiles for the most popular and in-demand cameras being used at all levels of the digital filmmaking industry.
We try to stay on top of the newest releases from all the major manufacturers, but we also rely on our users to tell us what camera they’re using on a regular basis, and the ones they’re planning to use. We prioritize our camera profile pipeline based on our user’s feedback
Check out our Download page to see what camera packs are available.
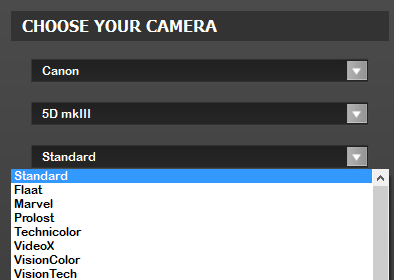
Choose the camera profile that matches the camera you’re shooting on, and then select the picture style that matches the picture style you chose in-camera.

If we haven’t profiled your camera yet…
Don’t freak out! FilmConvert can still work on your footage to give you interesting and beautiful results. Some filmmakers, like Philip Bloom, even deliberately apply camera packs that don’t match the camera they shot on, because they like the look.
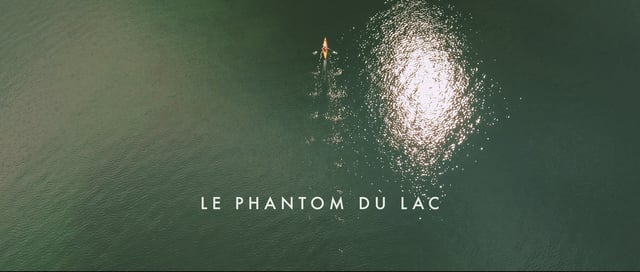
In the video below, Philip Bloom uses our DJI Inspire 1 profile on footage from the Phantom 4 to great effect:
Choose a camera pack from the same ‘family’
Even if we don’t have the exact camera pack for your camera, FilmConvert will still work just fine on your footage.
Cameras from the same manufacturers tend to have similar color characteristics – filmmakers often talk about the “Canon look” or “Sony look”.
If we don’t have your exact camera, but we have an older or later model, try another camera pack from the manufacturer (e.g. for the Sony a6500, try the a6300 camera pack).
What picture settings should I use for shooting my scene?
It’s up to your and your director of photography to choose the picture that best captures your scene.
In general, LOG profiles are great for high-contrast, outdoor scenes, with bright daylight, clouds, and contrasting patches of dark shadows. The LOG curve will allow you to capture more information in the shadows and highlights during shooting, and recover them in grading using FilmConvert.
If you’re shooting low-contrast scenes or scenes where you have more control over lighting, there’s no advantage to shooting LOG – stick with your camera’s native or standard profiles, and save yourself the effort of correcting the footage.
If you’re shooting in 8-bit codecs, be wary of relying too much on LOG picture styles to rescue a shot – there’s only a finite number of bits, and you can end up with ugly banding if you over-expose and then try to bring the footage back down in post.
What camera settings should I use?
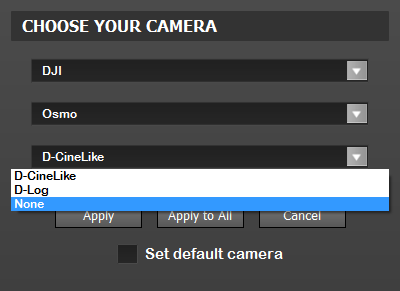
We profile cameras using the default picture styles installed – for instance, on the DJI Osmo, we have profiles for all 3 picture styles available:

We leave all the other picture styles at their default settings. That means Sharpness, Contrast, Saturation etc are all set at 0 or neutral.
You may wish to change these when you’re shooting depending on the look you’re going for in-camera, but in order to get the most consistent results from FilmConvert, leave these settings at their default.
What if I’m shooting RAW?
FilmConvert handles RAW footage in a couple of different ways. Check out the RAW Extract Settings on our Help page for specific instructions for your camera.
How else can I get the best look out of my footage?
To get the best look out of your footage, first properly expose your footage! Follow best practises for lighting your scene, choose the picture style that best matches the scene you’re trying to capture, and don’t forget to white balance.
If possible, shoot a color chart at the beginning of a scene or setup to get an accurate snapshot of the colors in your scene. This is especially helpful if you’re shooting multiple cameras, as having the reference chart in the footage will greatly assist your color grading process.
